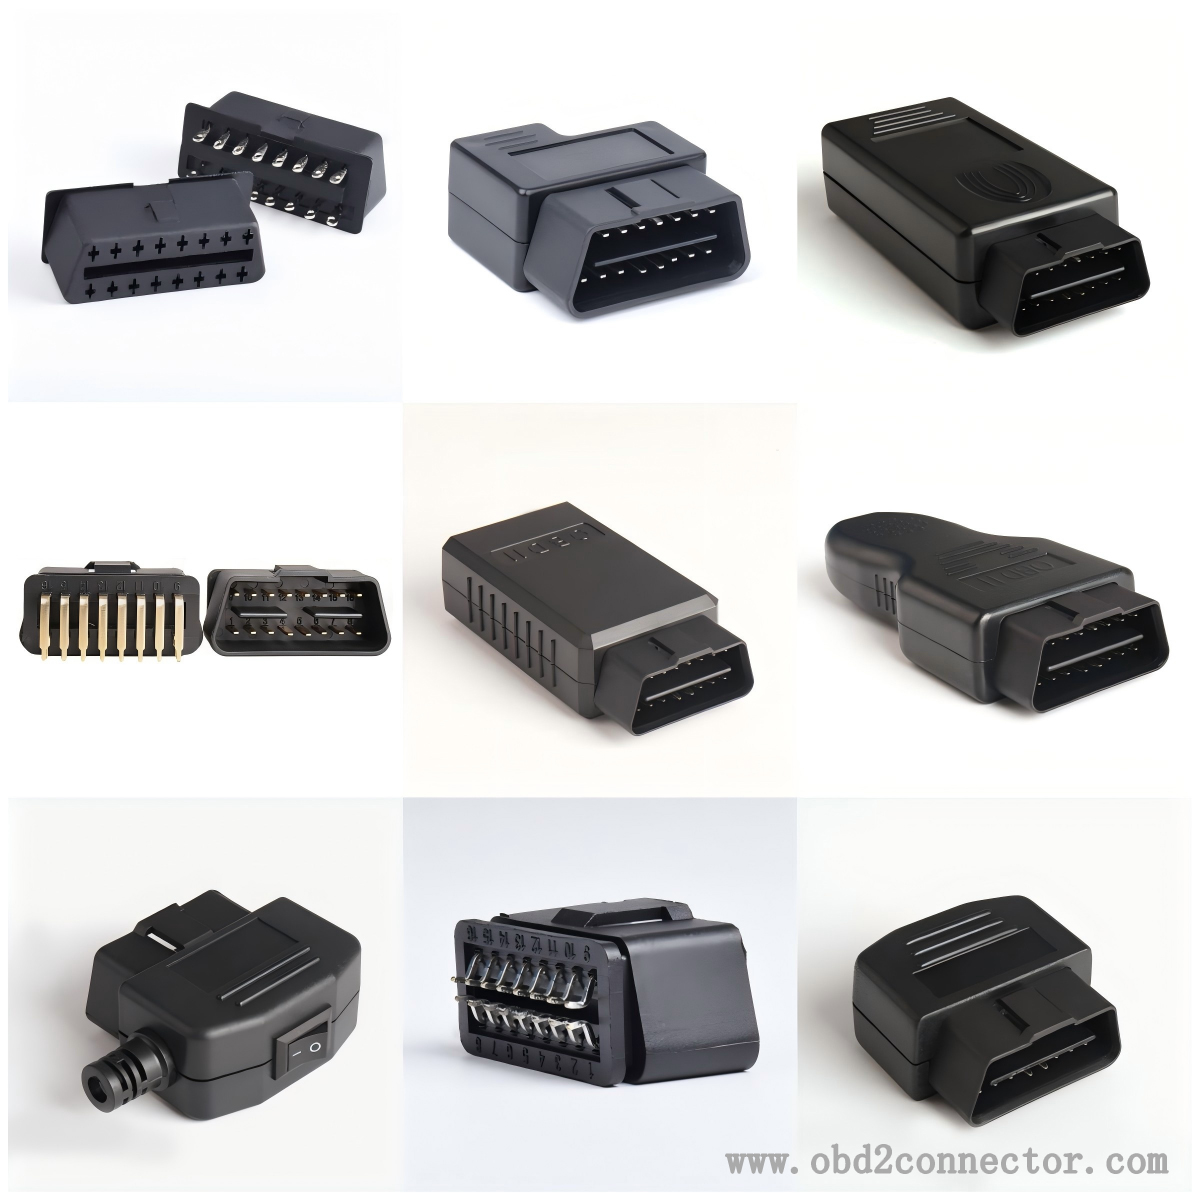
The fault codes on the OBDII connector can be read using professional diagnostic equipment.

preparation
Ensure that the vehicle is in a stopped state, the engine is turned off, professional OBDII diagnostic equipment is prepared, and confirm that its battery is sufficient or connected to a suitable power source.
Find the OBDII interface of the vehicle, usually located under the driver's seat, on the left side of the dashboard, or near the center console, with a 16 pin trapezoidal interface.
Connect devices
Connect the connector plug of the diagnostic equipment to the OBDII interface of the vehicle, ensuring a secure connection without looseness or poor contact.
Turn on the device and read the fault code
Turn on the ignition switch of the vehicle to the "ON" position (but do not start the engine), and the vehicle's electrical system will be powered on to provide power for communication between diagnostic equipment and the vehicle's ECU (Electronic Control Unit).
Turn on the power switch of the diagnostic device and wait for the device to complete the self-test and initialization process.
On the operating interface of the diagnostic equipment, select the corresponding vehicle brand, model, and year information according to the menu prompts to ensure that the diagnostic equipment can communicate correctly with the vehicle's ECU.
Select the "Read Fault Code" function option, and the diagnostic equipment will automatically communicate with the vehicle's ECU to read the fault codes stored in it. The reading process may take several seconds to minutes, depending on the complexity of the vehicle's system and the performance of the diagnostic equipment.
After the reading is completed, the diagnostic device's screen will display the read fault code and corresponding fault description information. Record these fault codes and descriptions for subsequent fault analysis and troubleshooting.